Price comparisons across different brands and cities

Eyar

How to Make Cement Tiles

How to Make Cement Tiles | DIY Guide 2024

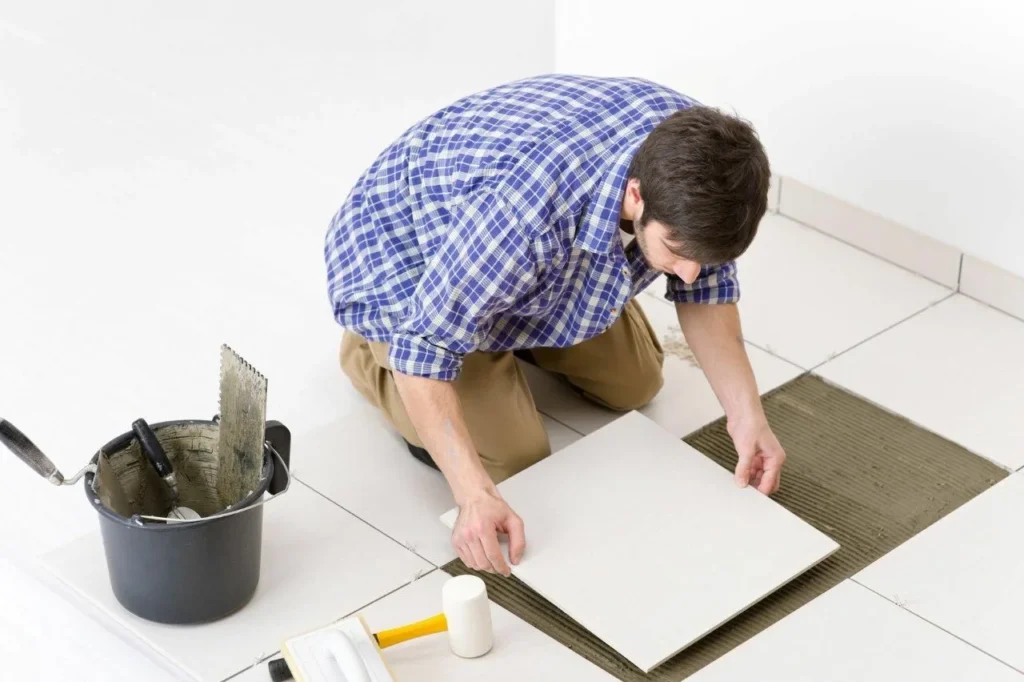
How To Guide How to Make Cement Tiles: Making cement tiles combines creativity with craftsmanship and adds personality to your space. Follow this guide to make professional cement tiles at home.   Understanding Cement Tiles Artisans have used cement tiles (encaustic or hydraulic tiles) to adorn homes and buildings for centuries. Their intricate patterns and rich colors run deep through the wear layer, unlike printed ceramic tiles.   History and Benefits Cement tiles emerged in 19th-century Europe and spread worldwide. They offer durability, customization options, and eco-friendly production. They cure naturally, using less energy than ceramic tiles. Essential Equipment: Gather these tools for success: Tile molds (metal or rubber) Cement mixer or mixing bucket Vibrating table Measuring cups and scales Trowels and spreading tools Safety equipment (gloves, goggles, dust mask) Material Selection Choose Your Cement Select Portland white cement for pure color and strength. Store cement in a dry place to maintain properties. Choose Your Aggregates Mix these ratios: Two parts white cement Three parts fine aggregate 1 part marble powder Select Colorants and Pigments: Use alkali-resistant mineral pigments. Natural oxide pigments provide stable, vibrant results. Manufacturing Process Prepare Your Workspace Clean and level your surface Organize materials and tools Ensure ventilation Set up a mixing station Make the Color Layer Mix pigments with white cement Add fine aggregates gradually Create creamy consistency Pour into molds Create the Backing Layer Mix gray cement with sand Add water for proper consistency Pour over the color layer Compress with a hydraulic press Cure Your Tiles Mix pigments with white cement Add fine aggregates gradually Create creamy consistency Pour into molds Create the Backing Layer Mix gray cement with sand Add water for proper consistency Pour over the color layer Compress with a hydraulic press Cure Your Tiles Rest for 24 hours Water cure for 7-14 days Dry for 2-3 weeks Design Your Tiles Choose Patterns: Geometric designs Floral motifs Abstract designs Traditional patterns Select Colors: Use complementary colors Balance your design Test combinations Consider room aesthetics Avoid These Mistakes Mixing Problems: Wrong water ratios Uneven pigment distribution Inconsistent mixing time Curing Issues: Rushing the process Insufficient moisture Poor storage Install and Maintain Installation Steps: Prepare surface Apply appropriate adhesives Space consistently Seal thoroughly Maintain Your Tiles: Clean with pH-neutral products Reseal periodically Remove stains quickly Avoid harsh chemicals Conclusion: Now,you know how to make cement tiles to create beautiful, lasting cement tiles for your space. While this craft requires practice, the distinctive results make it a worthwhile endeavor. FAQs How long do cement tiles last? Well-maintained cement tiles last several decades. Can I make tiles without special Equipment? Yes, but Equipment improves quality and consistency. What cracks cement tiles? Poor installation, improper curing, or excessive pressure. How much do DIY tiles cost vs. commercial? DIY tiles cost 40-60% less than commercial options. Can I use cement tiles outdoors? Yes, with proper sealing and maintenance. Most Popular Eyar

How to Make Cement Tiles | DIY Guide 2024 Read More »

How to Pour a Concrete Slab

How to Pour a Concrete Slab (with a Cement Mixer)

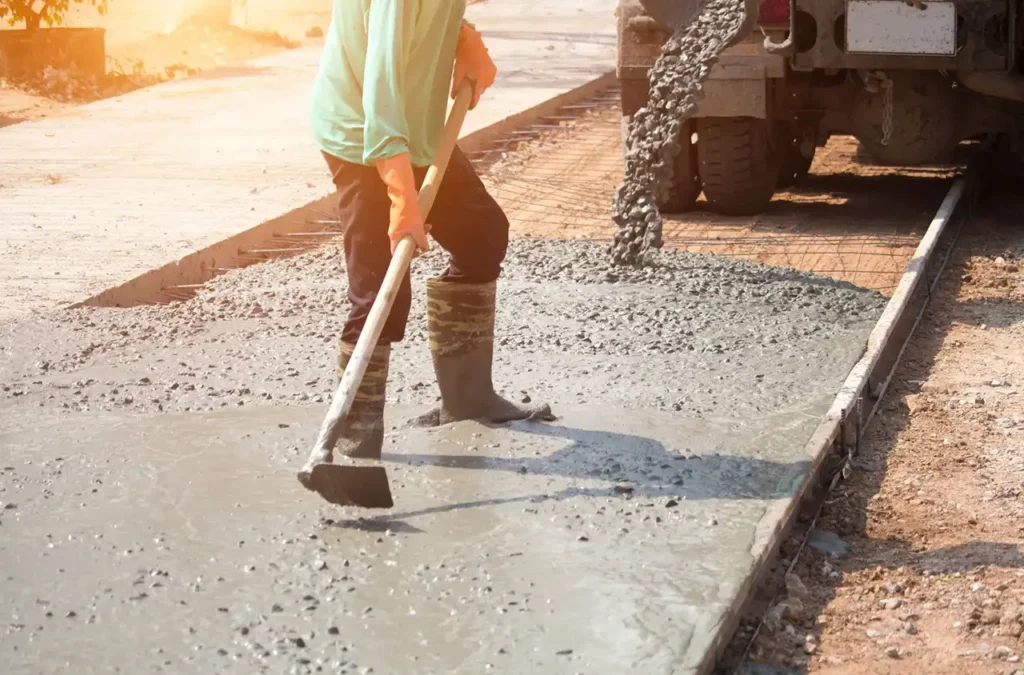
How To Guide How to Pour a Concrete Slab Learning how to pour a concrete slab (with a cement mixer) is a valuable skill for any property owner or contractor. This guide will walk you through the process, helping you create a durable foundation for your next project. Preparing the Site for How to Pour a Concrete Slab (with a Cement Mixer) Before you start pouring, you need to prep your site: Clear all vegetation, debris, and topsoil from the area. Use a plate compactor to level the surface. Build your formwork with sturdy boards, ensuring it’s level and square. Add a 4-inch layer of crushed stone or gravel and compact it well. Mixing Concrete: Now it’s time to mix your concrete: Set your cement mixer on flat, stable ground near the pour site. Add the correct amount of water to the mixer drum. Start the mixer and gradually add your dry concrete mix. Keep mixing until you achieve a consistent, workable consistency. Pouring the Concrete Slab (with a Cement Mixer) You’re ready to pour: Begin pouring your concrete into one corner of the form. Use a concrete rake to spread the mixture evenly. Smooth the surface with a bull float to remove air pockets. Let the concrete settle for about 30 minutes, then use an edging tool along the formwork. Finishing Your Concrete Slab To get that professional finish: Further smooth the surface with a concrete trowel. Create control joints using a grooving tool to prevent random cracking. Once fully cured (usually after 28 days), apply a concrete sealer for added protection. Conclusion: Now you know how to pour a concrete slab (with a cement mixer). Remember, practice makes perfect. Keep going even if your first attempt could be more flawless. With each project, you’ll improve your technique. Soon, you’ll be pouring concrete slabs like a pro, creating sturdy foundations for all your construction needs. Most Popular Eyar

How to Pour a Concrete Slab (with a Cement Mixer) Read More »

How to Make Concrete

How to Make Concrete with Cement and Sand

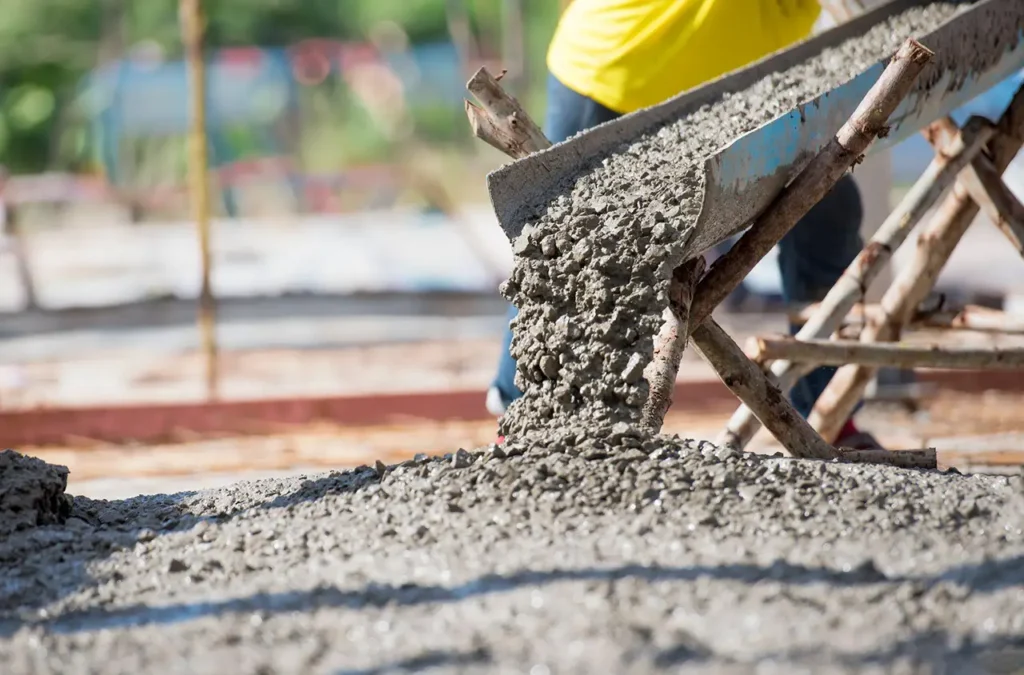
How To Guide How to Make Concrete with Cement and Sand: Your Ultimate DIY Guide Are you ready to tackle your next construction project? Learning how to make concrete with cement and sand is an essential skill for any DIY enthusiast, contractor, or homeowner. This comprehensive guide will walk you through the process step-by-step, assuring you create durable, high-quality concrete for your needs. Understanding Concrete Ingredients Before you start mixing, it’s crucial to understand the main components of concrete: Cement: The binding agent that holds everything together (Portland cement) Sand: Fine aggregate that fills spaces between larger particles Gravel or crushed stone: Coarse aggregate for strength and bulk Water: Activates the cement and makes the mixture workable Related terms: concrete mix, aggregates, concrete ingredients Gathering Your Materials and Tools To make concrete, you’ll need: Portland cement Clean, sharp sand Well-graded gravel (typically 3/4 inch in size) Clean water Wheelbarrow or mixing tub Shovel or hoe Measuring buckets Personal protective equipment (PPE) For larger projects, consider renting a concrete mixer for more efficient mixing. Related terms: concrete tools, mixing equipment, safety gear Step-by-Step Concrete Mixing Process Follow these steps to create your concrete mix: Determine the correct mix ratio: A standard concrete mix ratio is 1:2:3 (1 part cement, 2 parts sand, 3 parts gravel). Measure and combine dry ingredients: Measure out the cement, sand, and gravel according to your chosen ratio. Mix the dry ingredients thoroughly in your wheelbarrow or mixing tub. 3. Add water gradually: Create a slight depression in the center of your dry mix. Slowly add water while mixing, aiming for a consistency similar to thick oatmeal. 4. Mix thoroughly: Continue mixing until all ingredients are well combined. Ensure there are no dry spots or clumps in the mixture. 5. Test the consistency: Perform a slump test to check workability. Adjust water content if necessary, but be careful not to overwater. Related terms: concrete batching, water-cement ratio, concrete consistency Check: Cement Prices Tips for Successful Concrete Making Work quickly: Concrete begins to set within 30-90 minutes. Consider weather conditions: Hot or cold weather may affect setting time. Use admixtures: For specific project needs (e.g., accelerators, water reducers). Related terms: concrete setting time, concrete admixtures, workability Safety Precautions Always prioritize safety when working with concrete: Wear proper PPE, including gloves, safety glasses, and a dust mask. Avoid skin contact with wet concrete to prevent chemical burns. Make sure adequate ventilation when working in enclosed spaces. Related terms: concrete safety, PPE for concrete work, concrete hazards Common Applications for Homemade Concrete Use your DIY concrete for various projects, such as: Foundations and footings Driveways and walkways Patios and outdoor living spaces Structural elements (columns, beams, walls) Related terms: concrete applications, residential concrete, structural concrete Curing and Finishing Your Concrete Proper curing is essential for solid concrete: Keep the concrete moist for at least 7 days to ensure appropriate curing. Apply sealants or coatings as needed for additional protection. Related terms: concrete curing, concrete finishing, concrete strength development Troubleshooting Common Concrete Issues Watch out for these common problems: Cracking: Often due to rapid drying or improper curing Scaling: Can result from freeze-thaw cycles or overworking the surface Dusting: Typically caused by premature finishing or excess water in the mix Related terms: concrete defects, concrete repair, concrete quality control Environmental Considerations Be mindful of the environmental impact of your concrete project: Explore eco-friendly concrete options, such as those with recycled aggregates. Consider porous concrete for improved water management in landscaping projects. Related terms: sustainable concrete, green concrete, pervious concrete Frequently Asked Questions Can I make concrete without gravel using only cement and sand? Yes, you can create a mortar-like mixture using a 1:3 ratio of cement to sand. However, this will not be as strong as concrete with gravel and is better suited for non-structural applications. How long does concrete take to dry? Concrete doesn’t dry; it cures through hydration. While it sets within hours, it gains strength over time, reaching about 70% strength after 7 days and 90% after 28 days under proper conditions. How can I strengthen my concrete? To increase concrete strength, use the correct water-to-cement ratio, ensure proper mixing and consolidation, add steel reinforcement, use quality aggregates, and consider chemical admixtures like superplasticizers. Can I color my concrete? Add pigments to the mix before pouring or apply concrete stains or dyes after curing for a customized look. Conclusion By following this guide, you’ll be well-equipped to make concrete with cement and sand for your next DIY project. Remember to prioritize safety, choose the right materials, and consider mixing ratios for the best results. Happy concrete making! Most Popular Eyar

How to Make Concrete with Cement and Sand Read More »

How to Make Concrete with Cement and Sand

How to Mix Cement: Step-by-Step Guide for Perfect Ratios [2024]

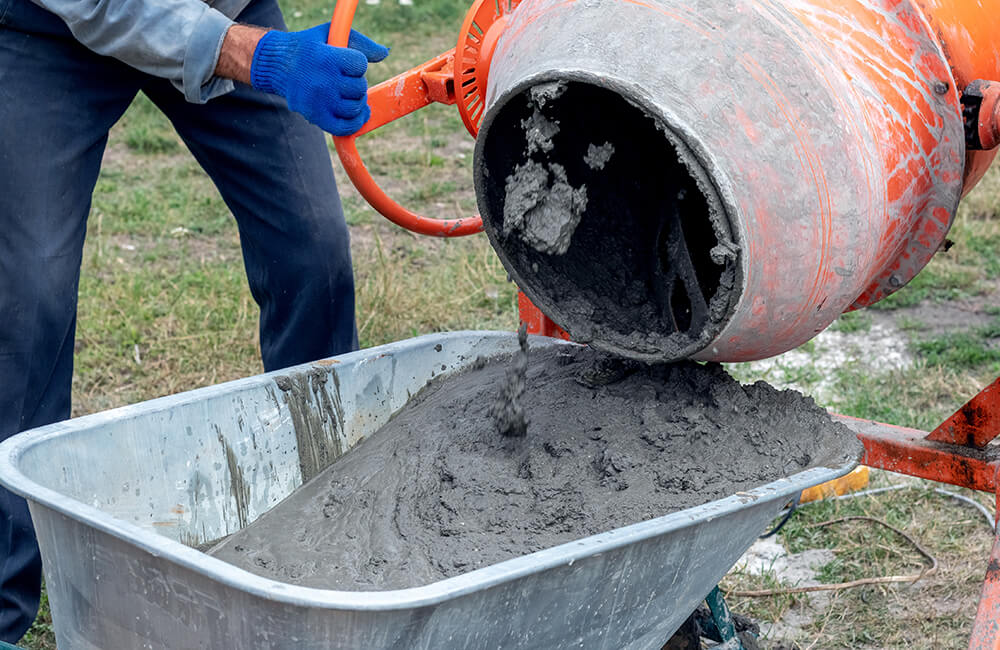
How To Guide How to Mix Cement: A Comprehensive Guide Mixing cement properly is crucial for any construction project, whether you’re a DIY enthusiast or a professional builder. This comprehensive guide will walk you through how to mix cement effectively, ensuring solid and durable results for your projects. We’ll cover everything from understanding cement types and mixing ratios to step-by-step instructions and expert tips. Understanding Cement and Concrete Before diving into the mixing process, let’s clarify the difference between cement and concrete: Cement: A fine, powdery substance that acts as a binder when mixed with water. Concrete: A mixture of cement, water, sand, and aggregates (gravel or crushed stone). Types of Cement Choose the correct type of cement for your project: Portland Cement: The most common type used in general construction. Quick-Setting Cement: Ideal for repairs and projects requiring rapid hardening. High-Alumina Cement: Used in refractory applications due to its heat-resistant properties. Sulfate-Resisting Cement: Designed for structures exposed to high sulfate environments. White Cement: Used for decorative purposes and architectural finishes. Opt for Portland cement for most general construction projects due to its versatility and wide availability. Check: Latest Cement Prices Cement Mixing Ratios Understanding cement mixing ratios is crucial for achieving your mixture’s right strength and consistency. Use these ratios as a guide: General purpose mix: 1 part cement, 2 parts sand, 3 parts aggregate Potent mix (for foundations): 1 part cement, 2 parts sand, 2 parts aggregate Mortar mix: 1 part cement, 4-5 parts sand Remember to measure these ratios by volume, not weight. The water-to-cement ratio is critical – aim for 0.35 to 0.45 for most applications. Too much water weakens the concrete, while too little makes it difficult to work with. Tools and Materials for Mixing Cement Gather these tools and materials before you start: Materials: Cement Sand (sharp sand for concrete, fine sand for mortar) Aggregate (gravel or crushed stone for concrete mixes) Water Tools: Cement mixer or mixing area Wheelbarrow Trowel Shovel Measuring containers or buckets Protective gear (gloves, goggles, dust mask, steel-toed boots) Plastic sheeting (to protect the ground) Hose or water source Wooden mixing board (for hand mixing) Concrete mixing hoe (for hand mixing larger quantities) Invest in quality tools to make cement mixing more accessible and more efficient. Consider using a cement mixer for larger projects, while hand mixing suits smaller jobs. Steps for Mixing Cement Follow these steps to mix your cement effectively: Prepare Your Workspace Choose a flat, clean surface near your project site. Lay down plastic sheeting to protect the ground and ease cleanup. Set up your cement mixer or designate an area for hand mixing. Gather all your tools and materials. Wear protective gear, including gloves, goggles, dust masks, and steel-toed boots. Measure Your Materials Use measuring containers to portion the cement, sand, and aggregate according to your chosen ratio. For smaller projects, use a bucket or wheelbarrow as a measuring unit. Place the dry ingredients near your mixing area. Dry Mix the Ingredients Before adding water, thoroughly mix the dry ingredients: For cement mixer: Add the dry ingredients to the mixer in the correct proportions. Turn on the mixer and combine the materials for about a minute. For hand mixing: Create a mound with your dry materials on a flat surface or wheelbarrow. Use a shovel to mix the dry ingredients thoroughly, turning the pile over several times until the color is uniform. Add Water Gradually Create a slight depression in the center of your dry mix. Add about 2/3 of your estimated total water need gradually. For machine mixing, add the water slowly as the drum turns. Use a hose with a spray nozzle or a bucket to add water gradually for hand mixing. Mix Thoroughly For machine mixing, let the mixer run for about 3-5 minutes after adding water. Use a shovel or concrete mixing hoe to blend the materials for hand mixing. Work from outside the pile towards the center, turning the mix over repeatedly. Continue mixing until you achieve a uniform consistency with no dry spots. Adjust the Consistency If the mix is too dry, add small amounts of water and continue mixing. If it’s too wet, add small amounts of the dry ingredients in the correct ratio. Aim for a workable consistency that’s manageable. Test the Consistency Use your trowel to lift some of the mixture. Check that the cement holds its shape without being too dry or too wet. When you smooth the surface with a trowel, look for a relatively smooth finish with a slight sheen of moisture. Use or Transport the Mix Once your cement is mixed to the right consistency, use it immediately for your project. For larger projects, transport it in a wheelbarrow to your work area. Work efficiently as cement begins to set quickly. Check this Guide: How to Make concrete Tips for Perfect Cement Mixing Follow these expert tips to ensure the best results: Prioritize Safety: Always wear proper protective gear to avoid skin contact or inhalation of cement dust. Improper handling of cement can cause severe skin irritation and respiratory issues. Mix in Batches: For larger projects, mix cement in smaller batches rather than one large mix.It ensures consistency and prevents premature setting. Consider Weather Conditions: Use cold water to slow the setting process and prevent premature drying in hot weather. In cold weather, use warm water to speed up the setting process. Avoid mixing cement in extreme temperatures when possible. Cure Properly: After applying your cement mix, keep it damp for at least seven days to ensure adequate strength development. Clean Up Promptly: Clean your tools and cement mixer immediately after use to prevent cement from hardening. Use a wire brush and water to scrub off any residue. Maintain Consistent Mixing Time: Whether using a machine or mixing by hand, ensure consistent mixing times for uniform batches. Avoid Overmixing: While thorough mixing is essential, overmixing can introduce too much air into the mix, weakening the final product. Use Clean Materials: Ensure

How to Mix Cement: Step-by-Step Guide for Perfect Ratios [2024] Read More »